Printable Stonyhurst disc
An A4 heliographic grid for any date, to lay under your solar projection.
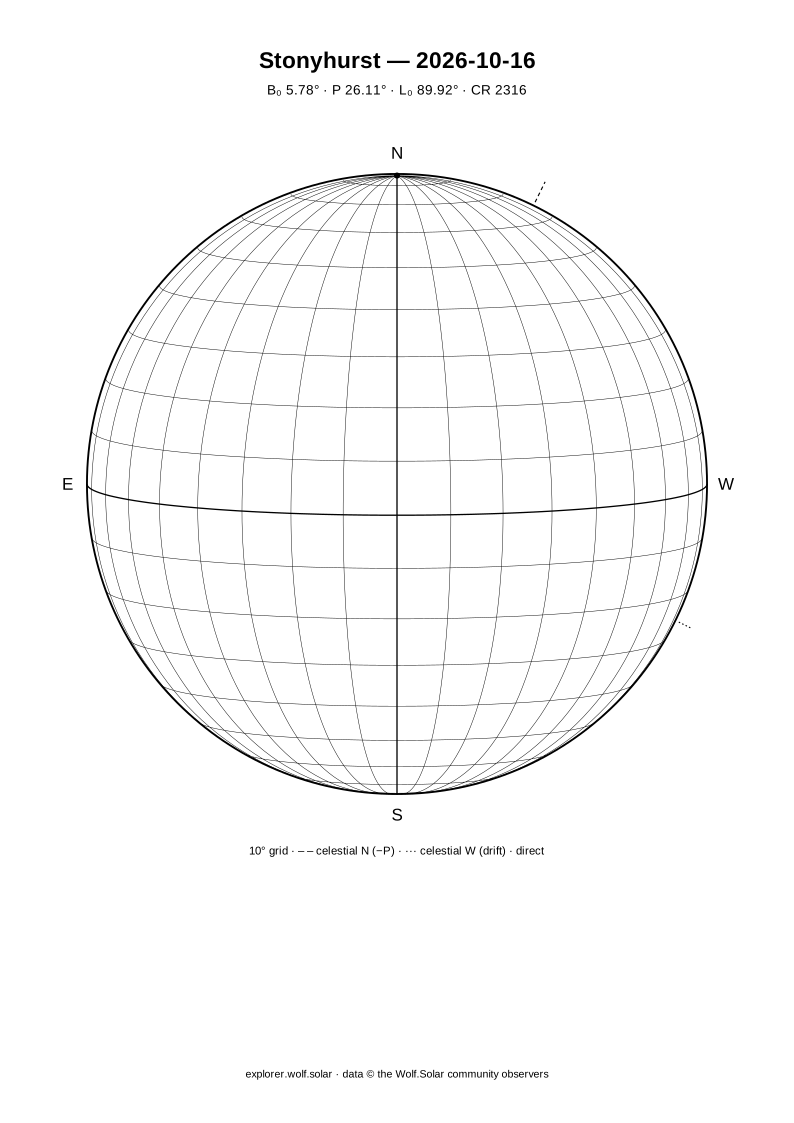
Print at 100 % scale (no fit-to-page), lay the sheet under your projection of the solar disc, align celestial north with the dashed P tick — or celestial west with the dotted drift tick — and read off the heliographic positions of the spots.
Finding north: the drift method
Whatever the mount, the sky itself points west: with the drive stopped, the Sun’s image drifts towards celestial west. Four steps orient a drawing without any computation.
- Put a spot (or the limb) on a mark of the eyepiece or the projection screen, then stop the drive.
- Let it drift for a few seconds and draw on the sketch the line the spot follows: that is the east–west direction, and the drift goes west.
- On the template, the short dotted tick marks celestial west (90° from the N tick). Turn your drawing until the drift line is parallel to that tick, with the drift heading towards it.
- Solar north is then at the top of the template and the grid reads directly: latitude on the parallels, longitude on the meridians, plus L₀ for Carrington coordinates.
On an alt-azimuth mount the field turns as the hours pass: the “top” of the image is the direction of the zenith, and celestial north sits away from it by the parallactic angle q, which changes minute by minute. The template’s alt-azimuth option turns the grid by P + q for the time and place you enter, zenith up — the drawing must then be made within a few minutes of that time. It suits a refractor or a Schmidt–Cassegrain with a star diagonal; on a Newtonian in alt-azimuth (Dobsonian) the top of the image also depends on where the focuser sits, and the drift method remains the safe one.
About this tool
Stonyhurst discs are a classic tool of the solar observer, named after the observatory of Stonyhurst College in England where they were devised in the nineteenth century: transparent overlays carrying the grid of heliographic latitude and longitude as it appears on the disc for a given value of B₀, the tilt of the Sun’s axis towards us. The historical set had one disc per degree of B₀; Explorer draws the exact grid for the date you choose.
The template is generated as an A4 SVG and shows meridians and parallels every 10°, the central meridian, the equator, a dashed tick for celestial north at position angle −P and a dotted tick for celestial west, so you can align the drawing with the sky. The values of B₀, P and L₀ for the date are printed on the sheet. Choose the orientation matching your instrument: direct for a straight view, inverted for a Newtonian or a refractor without diagonal, mirrored for a refractor with a star diagonal. On an alt-azimuth mount, also give the time of the drawing and your site: the grid is then turned with the zenith up.
Print at 100 % scale and project the Sun’s image onto the sheet so that the limb coincides with the circle, or lay it over a drawing scaled to the same diameter. Reading a spot’s latitude and longitude off the grid, then adding L₀, gives its Carrington coordinates — the basis for following a region from one day to the next. Never project the Sun through a finder or an instrument with plastic parts, and keep the eyepiece and the projection screen out of reach of children.